

The other day (yesterday) I was looking at the masses of nail polish I have accumulated. So in the hopes of finding some sort of organizational system I looked to my friend Pinterest for inspiration - of course. I saw an idea that Lauren Conrad's The Beauty Department had done and decided to try it out! The majority of the time things I see on Pinterest are not as easy as they appear. Somewhat like a rearview mirror, 'objects in mirror are closer than they appear' - is this just me or are 95% of DIY projects extremely tricky. This DIY of course looked relatively simple and with my overage of nail polish I wanted to re-create it. So here is my process!

So I believe on The Beauty Department they used a plain old box and covered it with paper, although this is an idea, I went to Micheal's craft store and purchased a photo box for $2. They have cute floral designs (or plain if you wanted to modge podge, etc). I found this fit in better with my room and looked way more polished.


Another difference is, they used plain paper and used a circular hole punch. This is a good idea because you get to see the true colors. However for the convenience (and because I couldn't find my circle hole punch) I used these little colored dots. I used the corresponding colors to the best of my ability. For the most part it worked well, with sheer colors and glittery colors I did use a white sticky paper and used a heart punch I had (not pictured).
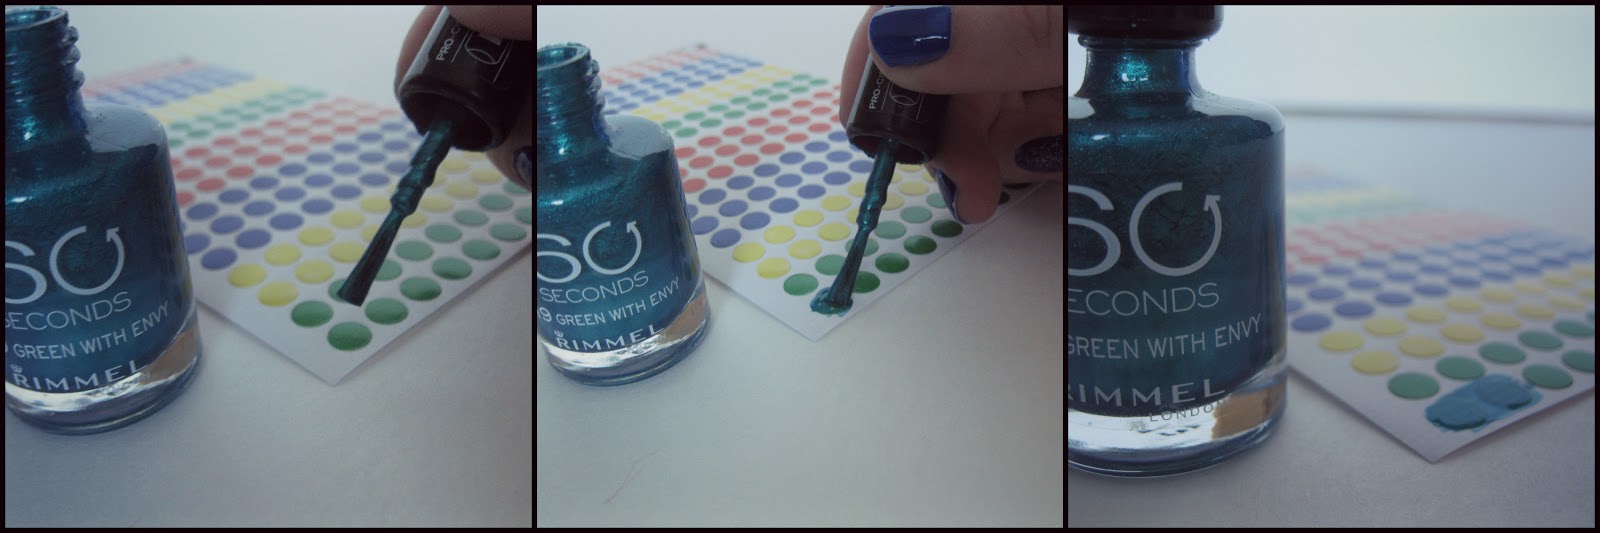
*Just to make sure, I covered two dots with each color, just in case I ruined one..


Although this was the final picture, this was approximately 1/8th of my nail polish collection. So after two boxes I was ready to go. I also liked these boxes as you can throw some clippers and a nail file in there as well. The other feature of a photo box I like is that you can add your little tag to the front!
IT WORKED! I was very happy with the result!
-B
No comments:
Post a Comment